Print Files for Print-on-Demand: Resolution, DPI and Transparent PNGs
Samet KapucuoğluOctober 6, 20262 min read
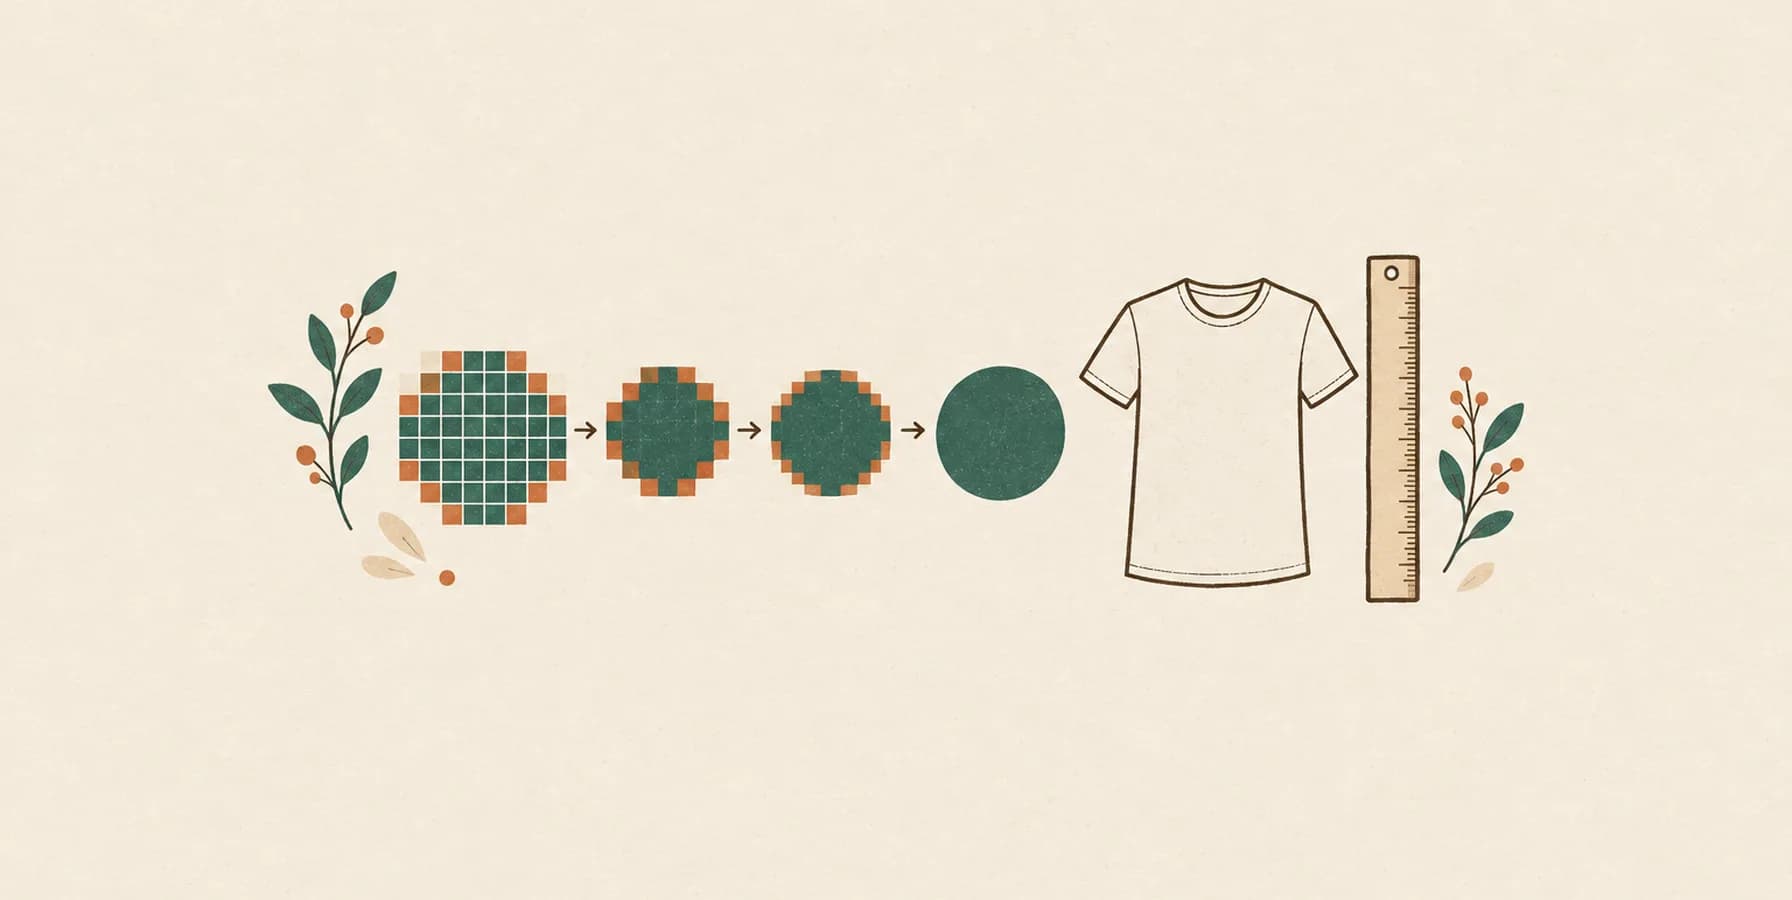
Pixels are what matter
A digital image is a grid of pixels. When it is printed, those pixels are spread across a physical size. DPI (dots per inch) describes how densely they are packed: more pixels per inch means finer detail.
That is why the DPI number on its own means little. What matters is how many pixels you have compared with how large the print will be.
The 300 DPI rule
For apparel printing, 300 pixels per inch at the final print size is the common target. To find the pixel size you need, multiply the print size in inches by 300:
- 12 x 16 inches (a large front print): 3600 x 4800 pixels
- 10 x 12 inches: 3000 x 3600 pixels
- 4 x 4 inches (a left-chest print): 1200 x 1200 pixels
Print areas differ between suppliers, garments and sizes, so use your supplier's size guide for the exact numbers.
Changing DPI does not add detail
If you open a 1200-pixel-wide image and change its DPI from 72 to 300, it does not get sharper. It only tells the printer to print the same 1200 pixels across 4 inches instead of nearly 17. To print large, you need more pixels, either from the original artwork or from good upscaling.
Transparent backgrounds
Everything in the file that is not fully transparent will be printed. Export your design as a PNG with a transparent background. A JPG cannot hold transparency, so a JPG design usually prints with a white or colored box around it.
Before uploading, view the file on a dark and a light background. Stray pixels, leftover edges from background removal and faint halos show up immediately.
Watch semi-transparent pixels
Soft shadows, glows and partially transparent areas can print unpredictably, especially with DTF, where every printed area is backed with white ink and adhesive. Faint, low-opacity pixels can turn into a visible haze. Where you can, use solid colors or a halftone effect instead of soft transparency.
Lines, text and small details
- Very thin lines and tiny text can break up or disappear on fabric. Keep important details bold enough to survive the print.
- Leave a little space between the design and the edge of the canvas so nothing important is trimmed.
Color
Screens show color with light; garments show it with ink on fabric. Very bright neons and some saturated colors look duller in print. Work in sRGB unless your supplier asks for something else, and expect small shifts between garment colors.
How Podinfly handles files
Podinfly's AI design generation produces artwork with a transparent background, and background removal for uploaded designs is one click. When an order goes to production, the print file goes to the supplier for printing; you can learn about the printing methods themselves in our guide to DTF vs DTG vs screen printing.